
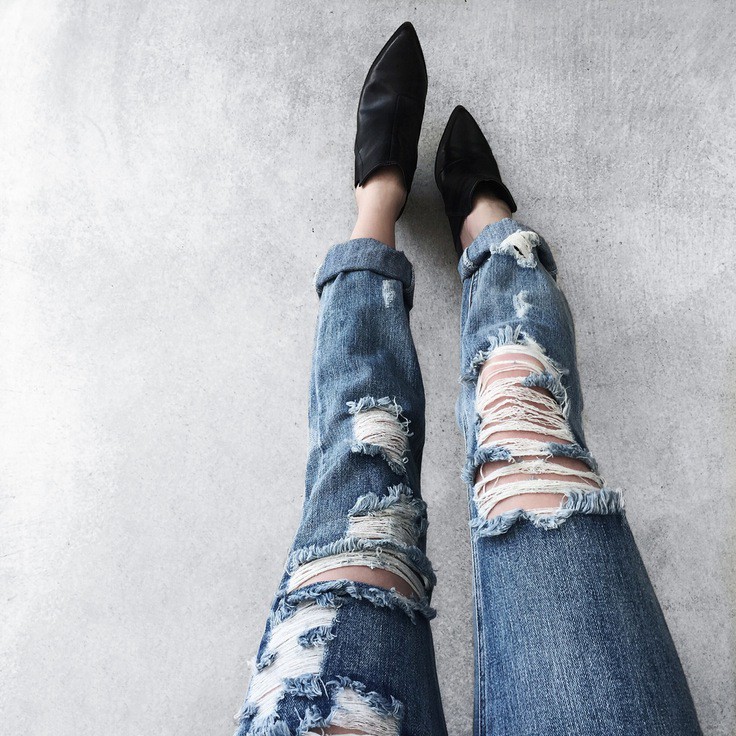
Ripped jeans are ALL the rage, & pretty much my go-to style when it comes to denim.
Don’t get me wrong, I have one or two non-ripped pairs of jeans for the (very) rare occasion rips aren’t appropriate, but I really just prefer to keep my jeans nice & destroyed.
Sometimes if I can’t find the right type of ripped up denim, or I want to add some flair to a boring pair of non-ripped jeans, I go for the DIY route. Distressing your jeans is SO easy & actually, really fun!
SO- today I will be sharing some tips & tricks on how to rip up your jeans in a way that looks super authentic & BAD ASS.

Choosing Your Denim
Obviously you aren’t looking to spend any wild amount of money on a pair of denim your about to rip up, so there are two options. First, dig through your old jeans & find a pair you don’t wear anymore OR hit up the local thrift store.
Also, I suggest sticking to a medium wash denim. A dark denim is okay if you’re looking for a more modern rip, but medium wash w/ some fading really gives it a worn-in authentic vibe. Keep it as close to 100% cotton as possible for optimum ripping.
Ripping & Tearing
Supplies: your jeans, x-acto knife, sandpaper (or you can use a pumice stone!), fabric pen, piece of cardboard, tweezers, needle & thread (optional).
» 1. Put your jeans on & mark on your body where you want your rips. I typically like to do both knees, a little above one knee, & maybe some slight ripping up near the thigh or down towards the shin! Mix it up & have fun with it, you can even do mega rips if you’re looking for a real grunge vibe.
» 2. Take off your jeans & slide a piece of cardboard into the jeans pant leg where you intend to rip to protect you from ripping through the back of the jeans.
» 3. Grab your sandpaper (or pumice stone) & start rubbing out the spots you want your jeans to rip to help soften the fabric & make the whole thing look super realistic.
» 4. Now get your x-acto knife & cut a slit in the place you marked. Once you have made your cut, use a pair of tweezers to pull/scrape at the horizontal threads. If you’re a sewer, a [link]seam ripper[/link:https://bit.ly/24lTXEk] works really well for this.
I think it looks really good when you preserve as much as the thread as you can (bonus points if the thread is now white), but if you really want those rips RIPPED open, just cut the threads & make the hole even more visible. The pieces you frayed will make the rips look like you have been wearing those pants for eons.
» 5. Lastly, throw your jeans in the wash 1-2 times to really get that fraying going.
» OPTIONAL: If your holes are just the right size & you want to make sure they don’t rip more- flip the jeans inside out & hand sew a couple stitches on either side of the rip before you wash. EASY! Also, I also like to sometimes cut the hems off my pants (in this case, shorter in the front/longer in the back!)