
Insty, my most fave love/hate relationship I have. Hate it because the stress that has come with posting the perfect picture. The #SELFIE song sums it up spot on– “What should my caption be? I really want it to be clever!”. YIKES. You all know what I mean, but I get it, it’s a hard truth to swallow. Instagram gives me anxiety. Said it, not sorry, on to the next.
BUT… it also gives me tons & tons of happiness. As long as I am not prepping a post/photo editing (sharing all those tips soon, don’t fret)/ sending options to the dream team/ typing out a clever caption/ carefully choosing the appropriate emoji/ etc. etc., I swear I really do love it. My lil’ feed is like my very own treasure chest, & I am always finding + taking screen shots of inspirational looks, DIY’s, hair styles, nail art, & random weird animals. Let’s just say– my phone runs out of space every 5 seconds. Ooops.
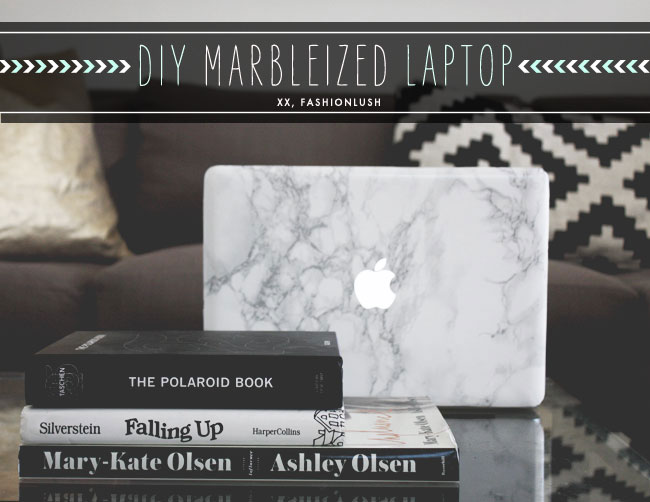
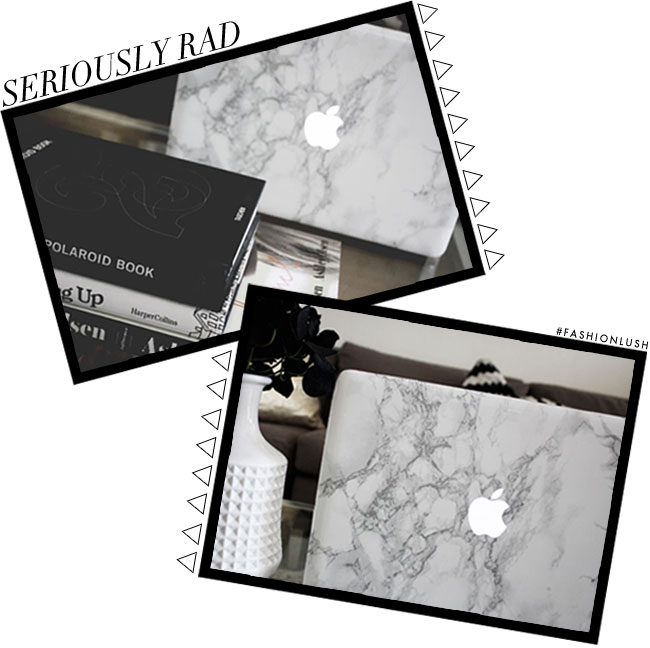
Anyways, my latest find that I have been seriously lushing over was the marbleized macbook I spotted on Designlykke’s Insta account (die over her feed). Best news of all, I had randomly ordered white marble contact paper way before & had it collecting dust under my bed. Dont’ ya just love drinking wine & online shopping, you never know what you’re gonna get or why you bought it in the first place. Good times.
So, I wiped the dust off that roll of chic white faux marble & sexed up my scratched up laptop.
P.S. I have another KILLER marbleized transformation coming soon. Get ready to not breathe for 5 seconds, it’s that good.
P.P.S. Ch-ch-check me out on Instagram @_fashionlush_!!
P.P.P.S I am in Dallas! Yahoo.
xx, E
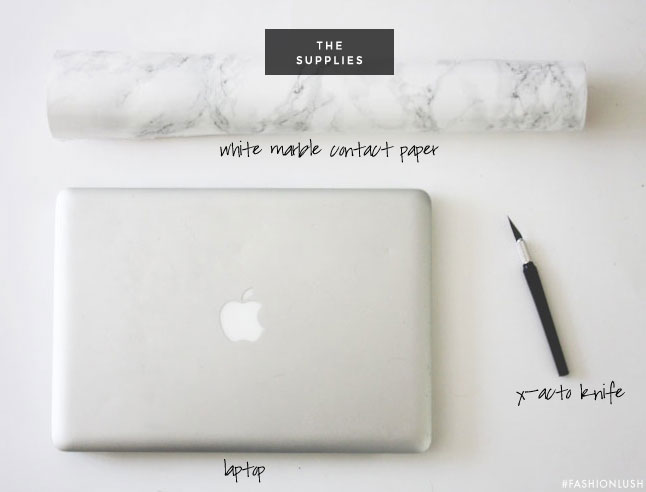
:: Supplies ::
✗ white marble contact paper
✗ x-acto knife
✗ laptop
✗ microfiber cleaning cloth
✗ hairdryer

:: The How-To ::
1. First clean your laptop with a microfiber cleaning cloth.
2. Lay down your piece of contact paper over top the laptop w/out removing the backing just yet. Cut a square that is relatively the same size as the top of your laptop. Leave an inch all the way around.
3. Peel off your backing & slowly lay it on your computer going from top to bottom or left to write to avoid bubbles. If you lay it straight down- bubble city fail. Trust me.
4. There may be some roque bubbles no matter what, so try to get them out. You can do so by poking a teeny hole with your X-acto knife if needed.
5. Head to your bathroom & get your blow dryer ready. You are gonna wanted to pull on the edges while blow drying. The laptop edges of a mac are rounded, which makes it hard to lay flat. The blow dryer does the trick. Don’t make it too hot or hold it for too long, 5 seconds on medium heat should be sufficient.
6. Lay your computer flat & cut off the excess contact paper with your x-acto knife. Go slow & stay steady. Once you get in the motion, you will find the straight line sweet spot.
7. The last step is to cut out the Apple symbol. Do this with the laptop open so the light goes on making it easier to trace. Again, go slow & be patient. You don’t want to rush through this & mess things up!
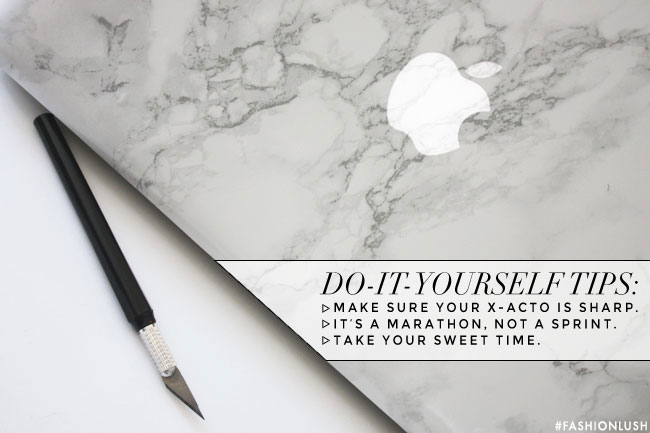
:: muy importante :: for this project make sure your knife is sharp (a dull one makes the job 100x harder & messier) & work at turtle speed. Irreparable messes are easy to do, & impossible to fix.
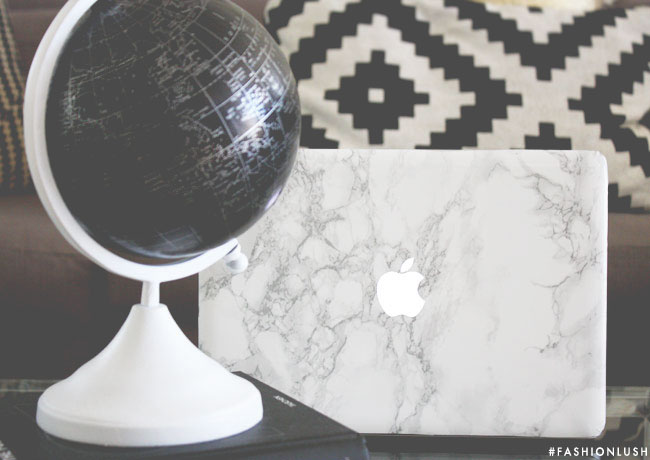
Ta-dah!! What do you guys think? Lovin’ my new laptop? I am.
Love it! I’m in dallas tooooooooo
Oooh- are you at the conference??!
What a great DIY :) Thank you for sharing, your DIY posts are gem!
thanks :)!! It’s so so so easy & cute
What a great idea! I might try this with my phone!
xx
so cute!
This is seriously sweet! Don’t know if I’d have the patience to do all the small cutting but end result is actually really nice
Surprisingly it’s pretty easy :)
amazing idea, i need to try this out
xx
Yes! It’s the best :) xx
Such a great laptop update!
thanks love :)
OMG that is seriously GENIUS!!!!! I’m so going to try this at home. Whereabouts can I buy an x-acto knife from?
Ps. F to the A to the B blog! :)
Thanks love— you can get an x-acto knife at any hardware store :)
It looks absolutely stunning! I was wondering if it’s possible to remove it when you don’t want it anymore?
Yup- it comes right off :) !!
Omg this is amazing. Love this DIY!! The cover looks fantastic. Thanks for sharing with us!
sartorialust.net
Thanks babe :)
this looks amazing! But i just do not trust myself with a knife around my macbook! :-/
you’re a brave lady!
kirsty xx
It was surprisingly pretty safe!!
so love this! the marble is so classy and glam
https://heyprettything.com
Isn’t it! I <3 white marble.
That looks so good! Never thought of that! Going to do that for my laptop!
Regards,
Miss Eliza WonDerland
http://www.misselizawonderland.com
Isn’t it chic!!? Enjoy. xx, e
LOVE THIS super cute and it looks so expensive!
https://wethinkthereforewecreate.blogspot.com
Thanks love!
Was your marble contact paper 18×9?? I’m thinking of giving this a try! (Thanks for the awesome DIY)
I believe so! i had a big roll & had to cut it to size with plenty left over! Let me know how it turns out for you <3
awesome project ! but before i tried i wanted to ask you if it stayed on for a long time ? i’m afraid it will come off very easily after a few days on the corners ?
thank you !
It’s stayed on great :) still on my computer now & it looks flawless! xo, e
Hi! I was wondering if the contact paper comes off smoothly? or does it leave a residue on the macbook?
I just replaced mine, so I can tell you that it does come off smoothly for the most part. It left one piece of residue that I was easily able to rub off!