
… & the Fashionlush DIY marble collection continues on strong!
First it was my laptop, next came the bar cart, then it was a perfume tray…. & now my nails.
Clearly, I’m obsessed.
I’ve been wanting to master a DIY marble mani for a while now, but considering I have the shakiest hands in the universe (& very little patience), nail art has never been my strong suit. So, when I caught wind of this whole water marbling nail polish thing, I figured I’d give it a go. It’s like tie-dye for your nails, that requires absolutely zero skill.
Perrrrrfect.
Check out all the how-to deets below & if you decide to try a project from the blog be sure to snap a pic & share on Instagram w/ the #FashionlushDIY so I can peep it :).
xx, E
P.S. I am always open to requests, so please shoot me an email if there is a DIY you want me to try!
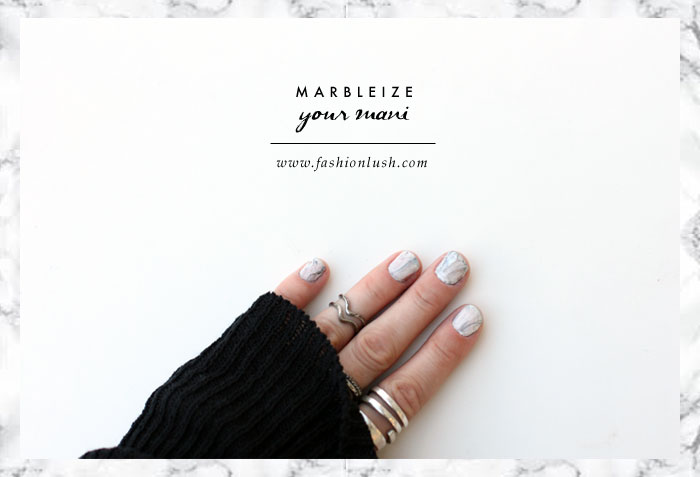
DIY Marble Mani
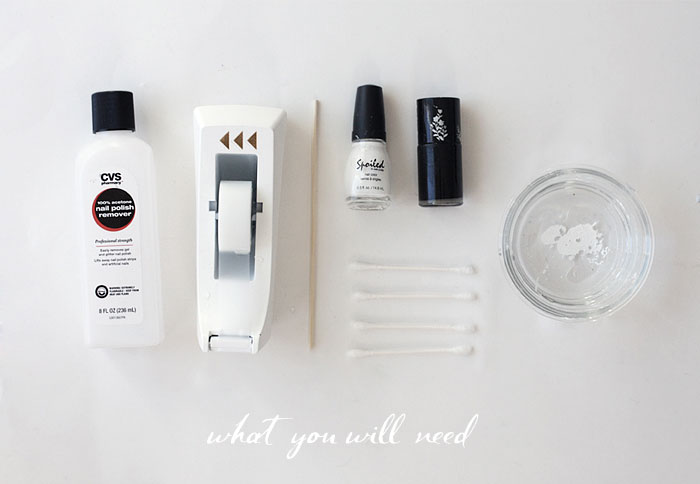
» nail polish remover
» scotch tape
» q-tips
» a small cup of room temperature water
» black & white nail polish
» a toothpick
» top coat
Step 1: Tape off your nails using scotch tape.
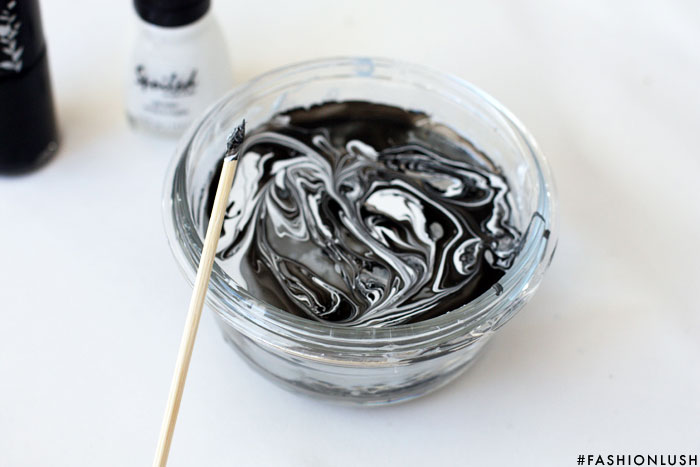
Step 2: In your cup of room temp (very important!!!) water, start adding drops off polish.
In the video you can see I used mainly black polish with a few drops of white as I was going for a black marble look.
After I was all done, my lack of patience kicked in, & I smudged my nails. So, in the picture you can see it’s a bit lighter, this was my second attempt in which I did mainly white polish with just a tiny drop of black.
Step 3: Dip your nails into your water marble. Move quick & don’t worry if it doesn’t look perfect– in the end once you add your top coat it will all make total sense & look just like marble.
Step 4: Let dry for a bit & then slowly peel off the tape. Once all peeled off, clean up any extra polish w/ nail polish remover & a q-tip.
Step 5 & 6: Finish with a top coat & let dry fulllllllly (seriously though, keep your hands to yourself till 100% dry!!)
Definitely going to try this later! What is that song? It’s beautiful.
Glad you like it :) The song is “Foggy Eyes” by Claire Wright!
This is soooo cool! How do you come up with stuff?!
Hilary x thehilside.com
Thanks love!! I saw it done with bright colors & just though it would work for a marble effect :) hehe
I’m going to try the marble nails. Love it.
:)
I love your nails this is an amazing tutorial I can’t wait to try xo C
Thanks babe! LMK how it goes for ya :) xx
Love this mani idea!
http://www.getchaglowon.com
:) xx