
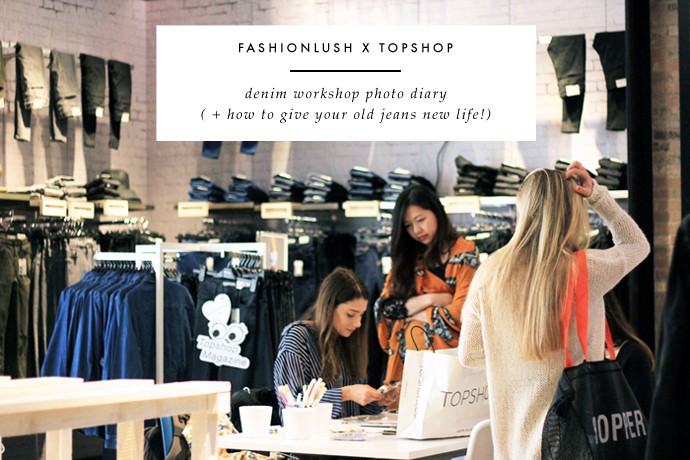
This past week I was invited to host a denim workshop for an event being held at Topshop in San Diego.
If you follow me on Instagram or Snapchat (un: fashionlush, FYI), you already got a sneak peak of all the happenings. If not, no sweat, that’s what the blog is for!
I had so so so much fun working with one of my favorite brands (seriously though, Topshop is always on point!), meeting a ton of awesome people, & showing everyone how to give jeans a fancy lil’ facelift.
See below for the total Topshop Denim Workshop photo diary + two rad ways to breathe life into your boring old jeans :).
Happy Friday!
x, E
[ photo cred: Zack Dowdy ]
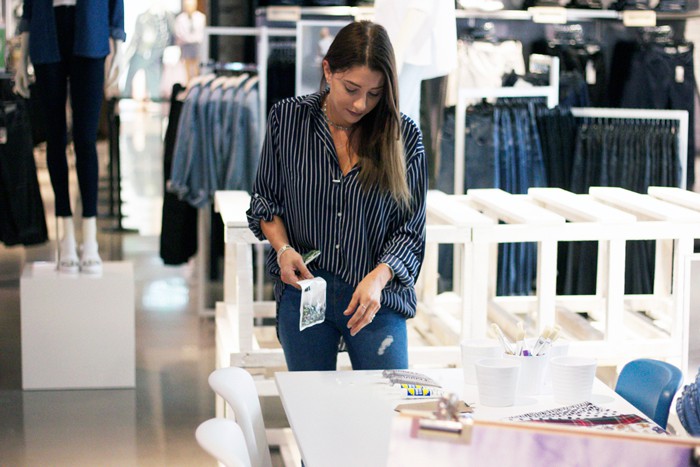
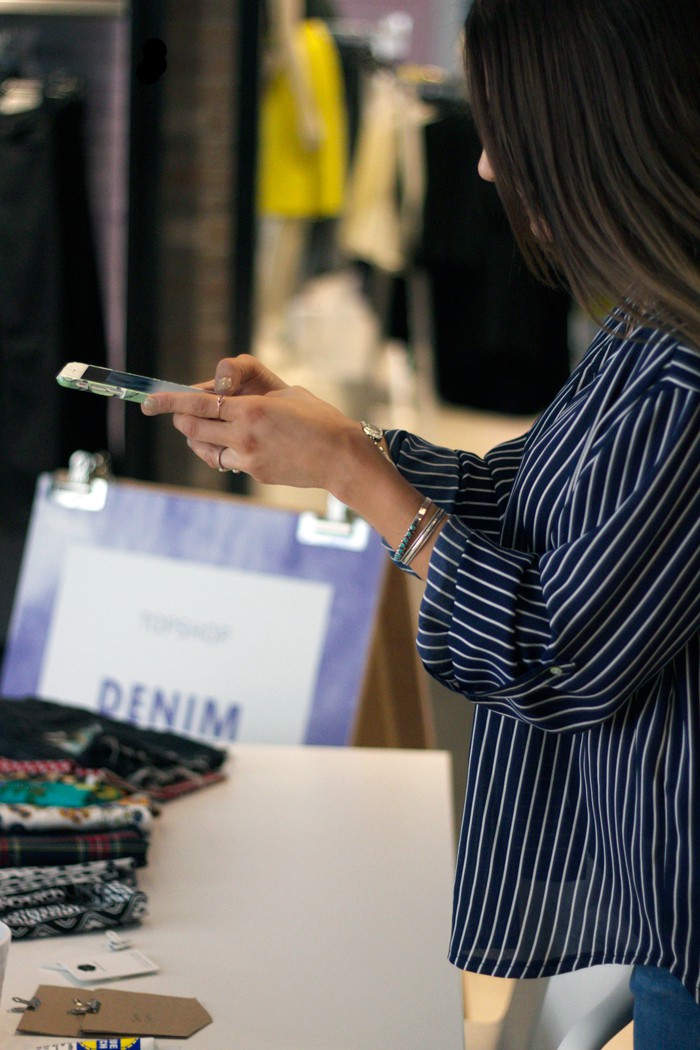
» setting up the denim DIY station «
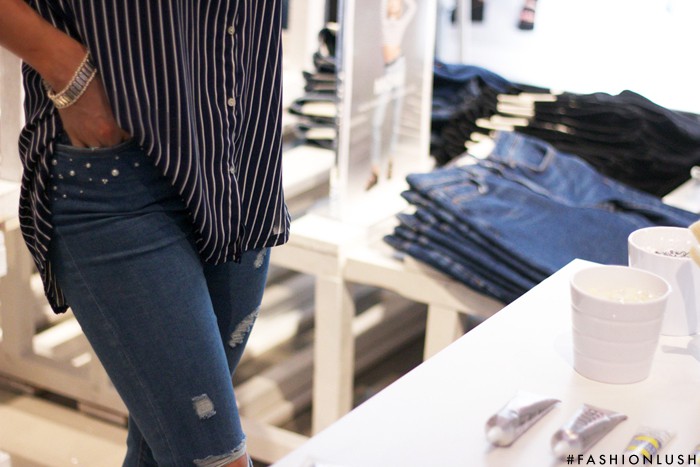
» rocking my pearl embellished Topshop Jamie jeans (aka the best skinny jeans everrrrr!!). «
» whipped up some custom Coachella shorts for one of my DIY-ers! These were def. my favorites of the night. «
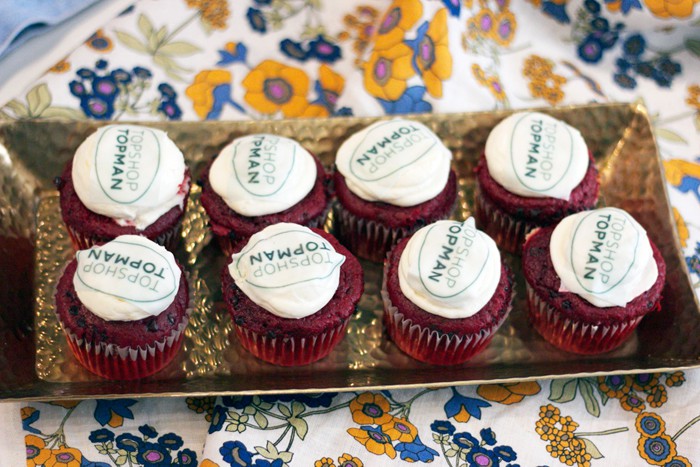
» mini red velvet cupcakes are always a good idea. «
» per usual… «
As for the DIY’s we did at the workshop, here they are for you to do at home! Enjoy my lil’ crafty babes <3.
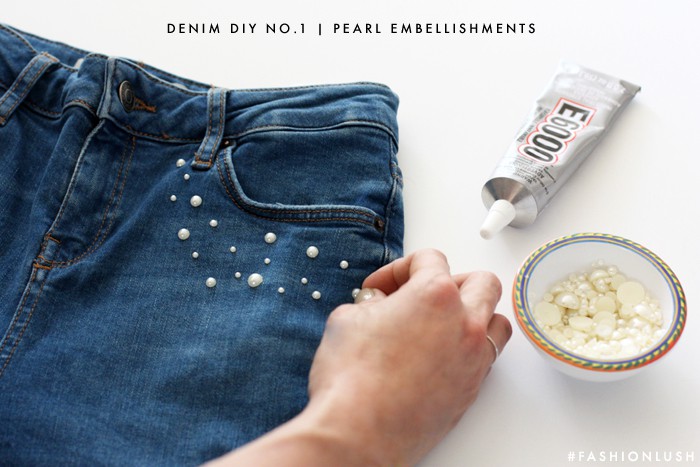
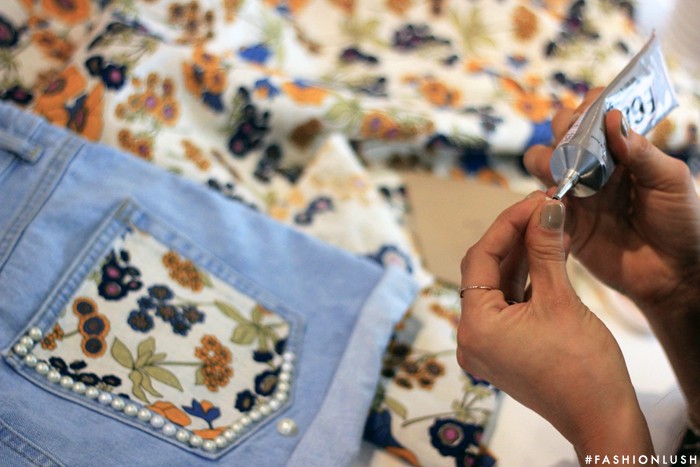
HOW TO: PEARL EMBELLISHEMENTS
+ optional: this amazing tool that picks up your pearls & keep your mani glue-free
1. Make a plan by placing your pearls where you want them.
2. Pick up the pearl using the jewel setter tool & add a dab of glue on the back.
3. Position the pearl back where you want it.
4. Let dry for an hour.
** wash on cool & let air dry! **
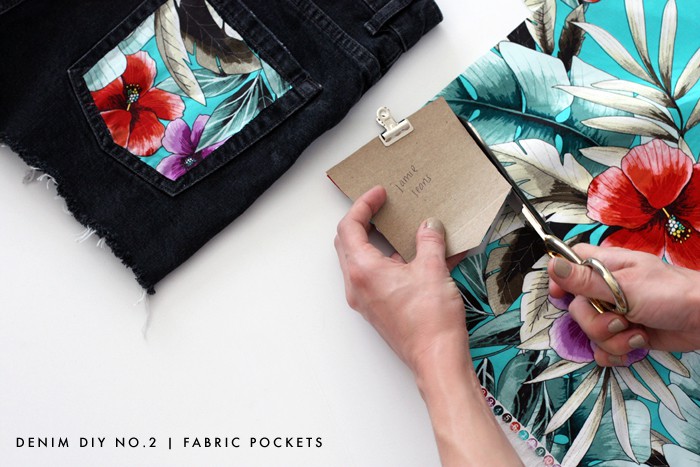
HOW TO: FABRIC POCKETS
+ fabric of your liking, I personally am really into floral, polka dots, plaid, or animal prints.
1. Trace the shape of your pocket onto a piece of paper, then cut it out on card stock for sturdy templates such as mine above.
2. Using a bull dog clip, secure your fabric to your template & cut out the shape.
3. Outline the underside of the fabric pocket you just cut out with fabric glue.
4. Press down on top of the pocket & let dry fully.
** wash on cool & let air dry! **