
How to Style the Perfect Flat Lay
1. Pick a theme
Before you start getting into the flat lay styling, you gotta pick a theme. Is it gonna be based around food, fitness, beauty, fashion? Are you featuring a specific product that needs to be highlighted? What’s the color scheme you are going for? Bright & airy or dark & moody?
Also- ask yourself, what does this flat lay provide to my readers? Make sure your flat lay isn’t just another pretty filler post, but something that actually provides value.
** example photo here. You can clearly tell the theme of this Instagram is La Mer & beauty. **
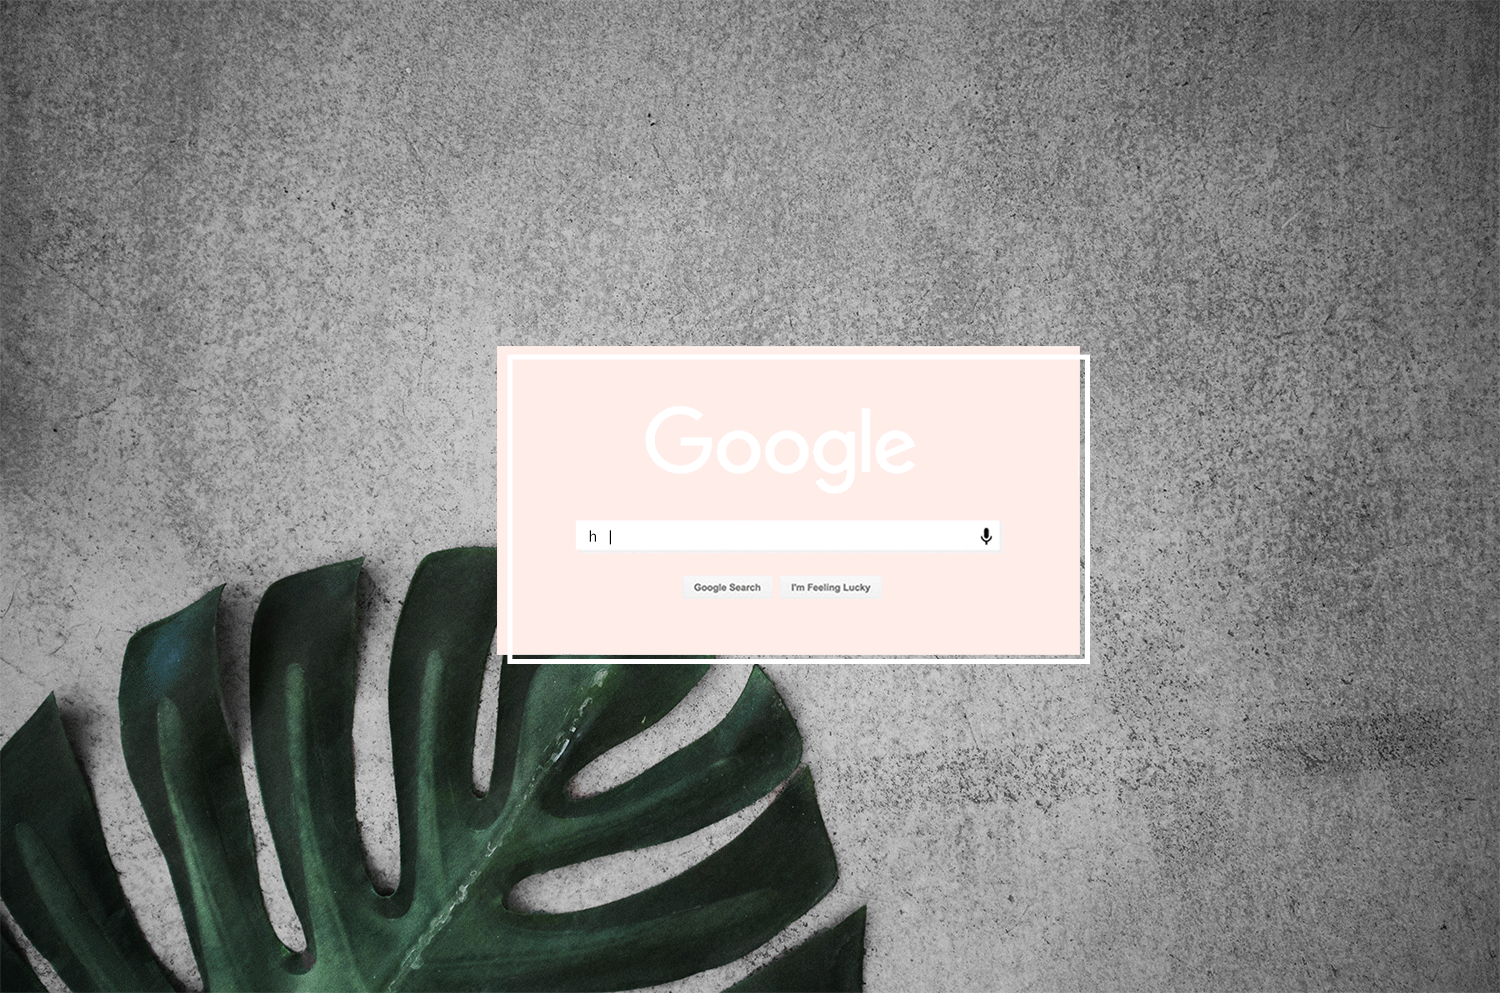
2. Keep the background clean
Okay, so first you gotta start with a good background. I like to keep my flat lay backgrounds super simple. I have concrete floors in my apartment, & since my Instagram feed is kinda dark/moody, this is always a great backdrop for my flat lays.
I also keep a plain white poster board in my office along with a white poster board that I covered in marble contact paper (fun little marble hack for you guys!).
** example photo here– can you even believe that marble is just a poster board? **
3. Proportion is Everything
Okay- so when it comes to flat lays- proportion really is key. You want to have some larger items & some smaller items all mixed in. I usually like to do 2-3 larger items (i.e. a coffee table books, shoes, & maybe a bundle of roses or a huge faux palm leaf).
Too many big pieces can get overwhelming, & too many small pieces can get messy.
** example photo here– the polaroids & magazine are my two FOCUS pieces & three smaller items balance it out **
4. Bring on the props
After I have my hero pieces, it’s time for props. Honestly, my favorite part is getting weird/creative with my props. I usually head to the bathroom & get a few beauty products (lipsticks & face oils are my go-to’s). I also will raid my jewelry box for some gold pieces to mix in.
Sometimes I will also add in a few office supplies or any random tsotchke’s I have lying around the house- gold paper clips, an acrylic stapler, my planner, a candle, a gold lighter, etc. etc.
** example photo here– all of the fixings for the most insta-worthy bath around **
5. The layout
There are really only two layouts for a flat lay: grid or scattered.
A grid flat lay is just that- laid out in a SUPER organized grid. This type of flat lay is crisp, clean, & looks best on a white background with colors that pop. Also, grid layouts are fun to shoot on an angle & you should always consider negative space in a clean layout like this!
Scattered flat lays are more my vibe. I kinda just place things wherever, take a photo, see what I think, move things around, & continue that process until I am digging the layout. With a scattered layout, layering is also fun for some dimension. Stack some books, throw some sunnies on top, maybe a cup of tea or rosé as well, & drape some jewelry off the sides.
** example of a clean layout here here & a more scattered vibe here (peep all that layering!) **
6. Birdseye, baby
Shoot your flat lays from above! But you know that already I am sure.
Use a step stool or an iPhone tripod with bluetooth remote to make sure you can far away enough from the flat lay to include everything in the frame!
** example photo here– cause flat lays only look flat when taken from above **
7. Get That Light Right
Alright- so natural light is obviously best, but you also want to try to avoid shadows from the sun.
Lately, I have really been digging shadows from the FLASH in my flat lays (example here), cause they are bright & clean, but shadows from the sun can be dingy & annoying.
You will have to play around with WHERE you are shooting to best avoid shadows- move around the house & move the direction of where you are in relation to the photo until you are happy with the amount (or lack there of) of shadows in your photo.
** example photo using flash shadows here & an example of a natural light photo here **
8. Edit that bad boy
OBVIOUSLY- the rest is all done in editing. For me- flat lay editing mainly includes taking out yellow tones, brightening up the negative space, & detailing the items in the image with a sharpening tool.
Rad! This is so informative and the links to your IG are so helpful! XO
Great post thanks for sharing!
New post:https://thepinkpineappleblog.blogspot.com/2017/08/haute-couture-2017-street-style.html
Thanks for stopping by babe! x