6 Tips for Scouting ON BRAND Locations for Blog Shoots

As I sat here thinking what to write about, I kept going back to PICKING LOCATIONS FOR PHOTOS. I was on the fence. Honesltly because IDK if people would find this interesting… but I am a real NUT about locations (in a really lax way, but we will get to that). I honestly believe a solid location/backdrop is like 85% of what makes a photo look good & really helps bring a brand together. I have said it once, and I will say it again, branding isn’t just having the same typography & colors… branding is your ENTIRE vision. It is the way people feel when looking at your blog, & photo locations are most definitely a part of the branding process.
For a while I was die hard stuck on shooting in alleyways & against black/white walls ONLY… way back in the day when I was very very very black & white obsessed. I always will love my black & white, but as far as my aesthetic goes, I feel like I have evolved tremendously & needed my photo locations to evolve with me.

The editing process is just one part of building a cohesive theme in regards to photography, but I truly believe the location really helps tie it all in together & I always consider the feed when choosing where to shoot. SO- I am gonna share with you guys, obviously, my tips on how to find the perfect shooting location(s) for your brands vibe.
Also, SIDEBAR, I have this genius idea that someone needs to create an app where blogger’s share photo locations & then when you’re travelling around you can just look up where you are and find the best places to shoot photos nearby. SOMEONE PLEASE DO THIS, I would, but I have already bit off more then I can chew when it comes to projects.


MY TOP 6 TIPS FOR SCOUTING LOCATIONS FOR YOUR BLOG PHOTOS
1. mood-boarding
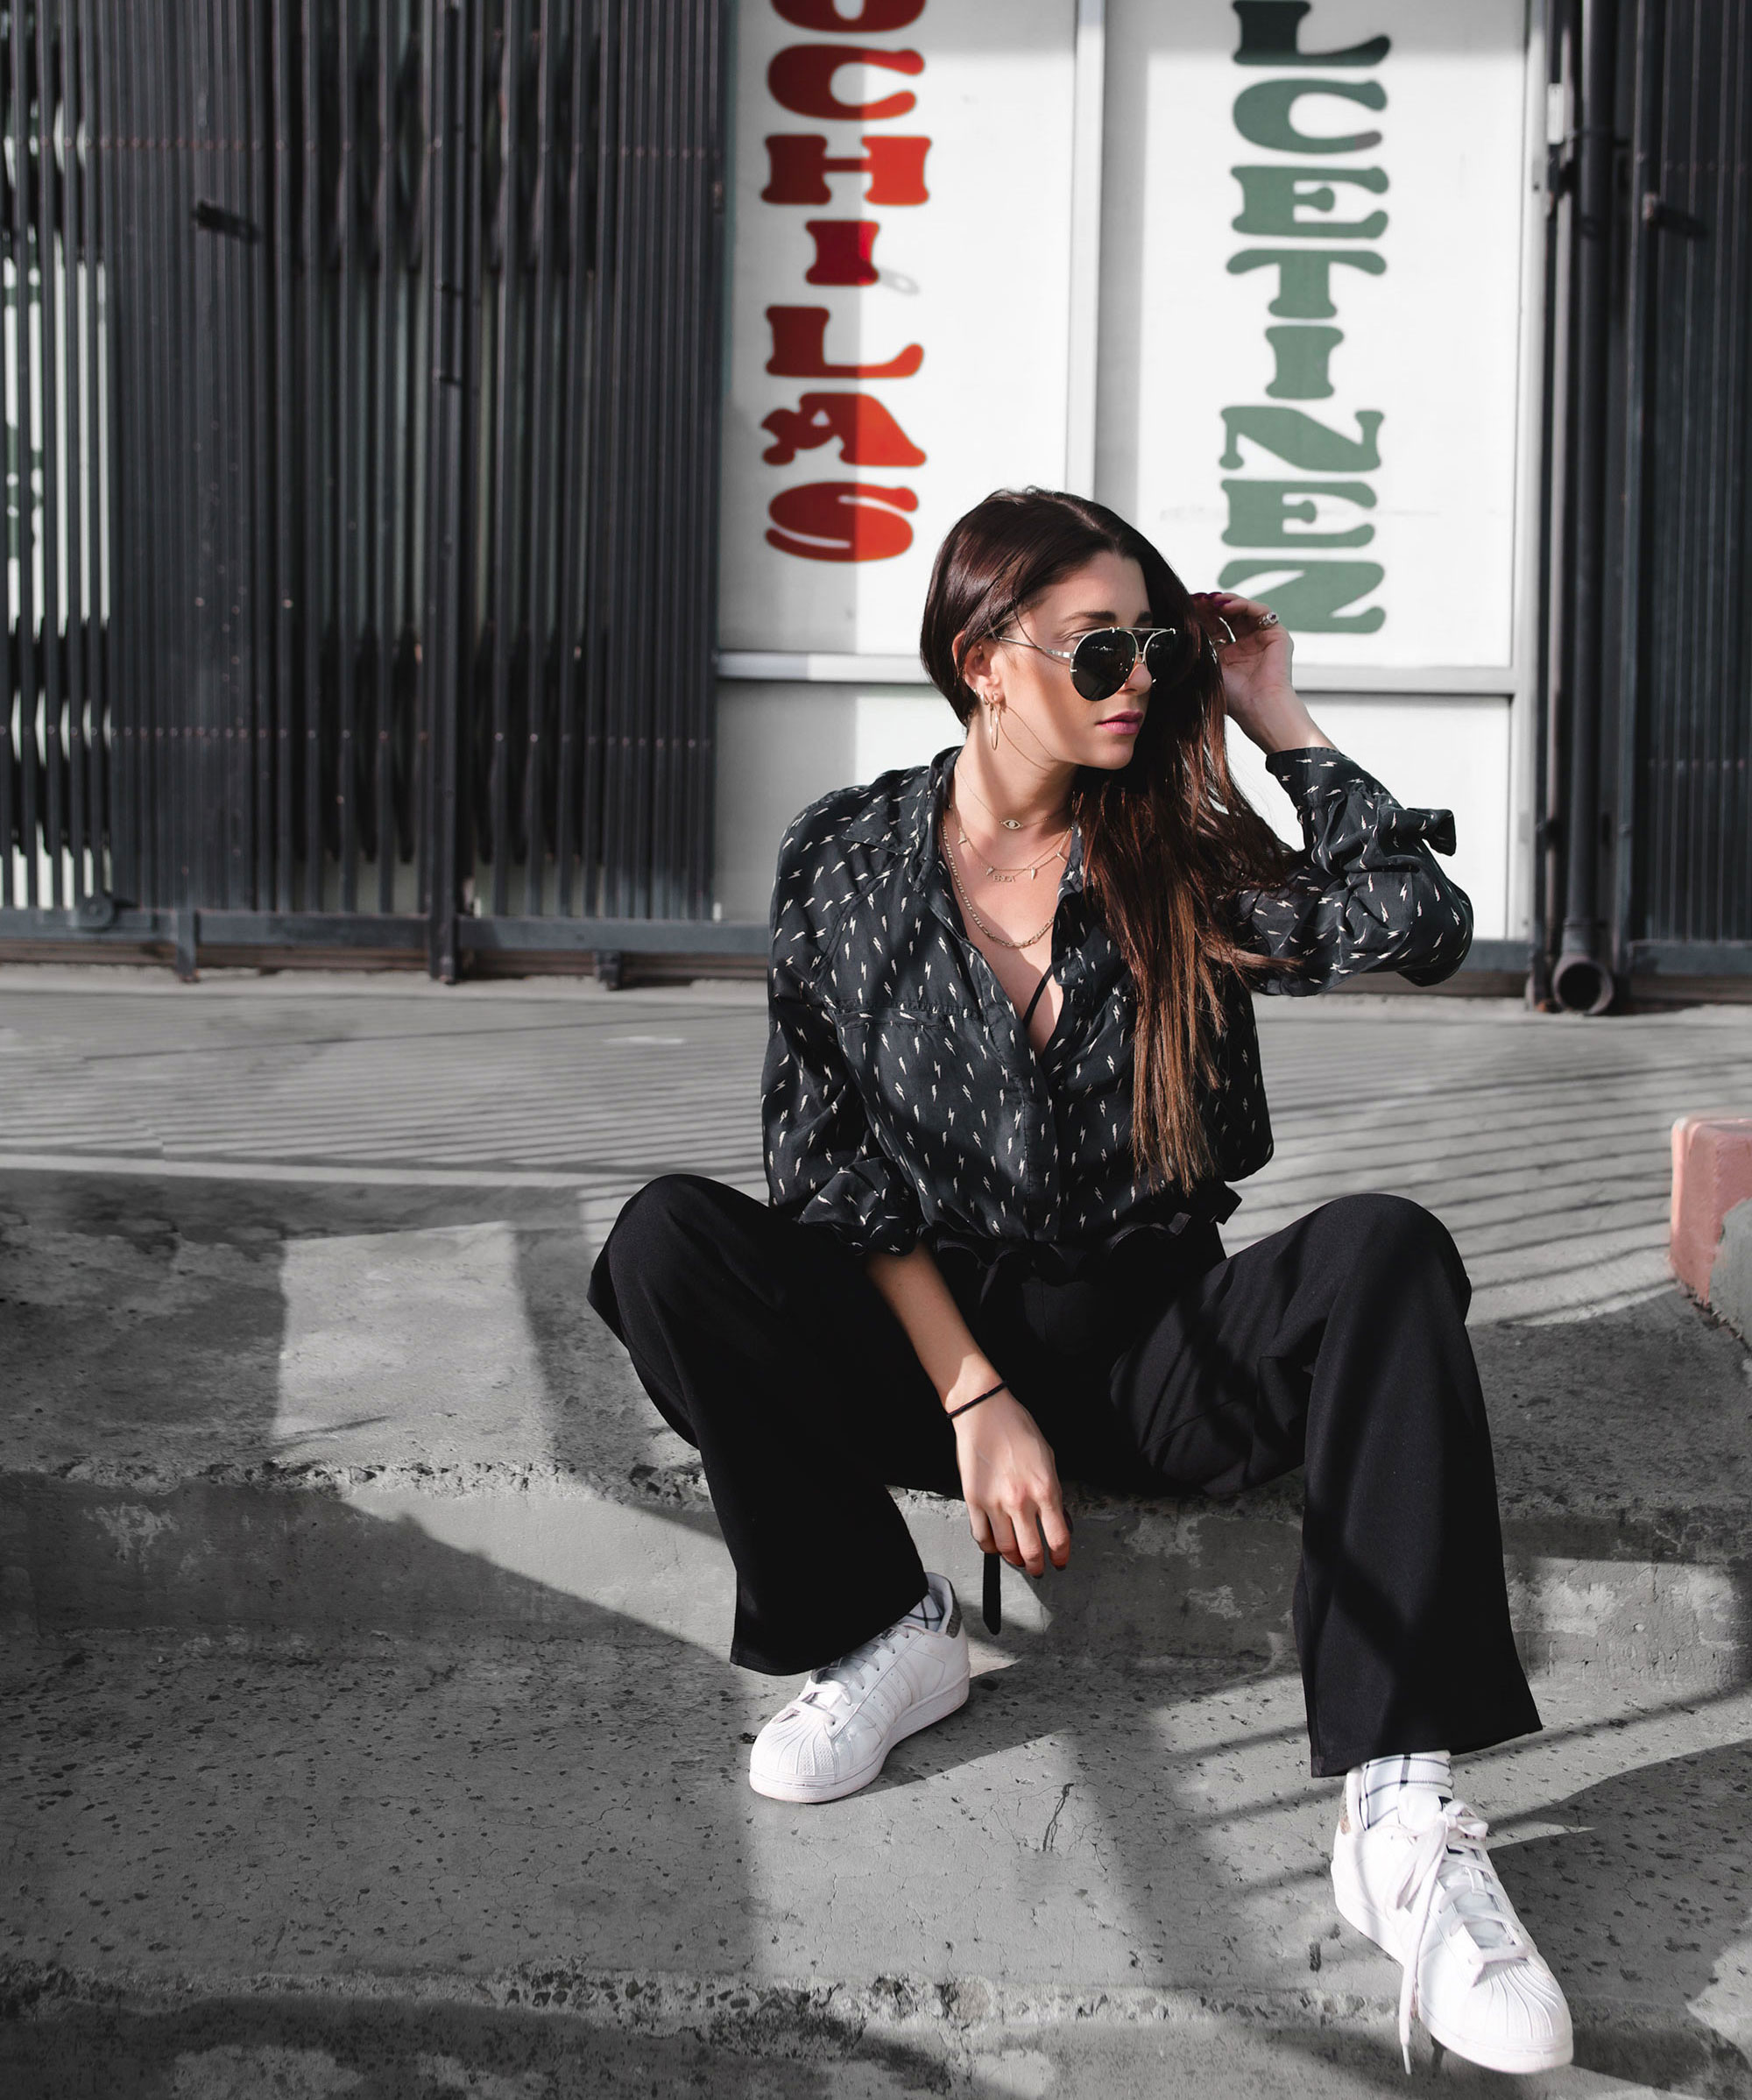
when I first started out, and for years after, finding locations to shoot was always difficult for me. Before I met Zack, I lived in beach town & I did not want to be a beachy blogger. NOT MY VIBE. So, I did a lot of shooting in parking lots & in front of plain. Because I wasn’t working with much location wise, I kinda built my feed around that aesthetic- very minimal. When I moved in with Zack, it was closer to downtown & WAY edgier, so I made a mood-board on Pinterest with ideas on shooting in a more urban setting.
This was SO helpful!!! Seeing it all laid out, I could feel out a theme. I liked shooting in normal/everyday settings. I didn’t love street style photos (i.e. fake crossing the street, been there/done that), & I did not like standing front facing against a blank wall AT ALL anymore. All the photos I pinned were just rad outfits, great editing, semi-normal locations. Some examples: the burrito shop, this random loading dock area, the magazine store, the laundry mat, etc.
2. lighting is KEY
okay, so way back when… I would only shoot in the shade. It was my thing & now- I am kinda the opposite, but again, it depends on the look/what you are going for. It really depends on my outfit though. Shooting in the shade always works out well. As long as the sun is in front of you (never ever shoot with the sun behind you). Shooting in the sun may be more tricky for the photographer. BUT, if done right- it can make a photo super edgy/rad. When I am out looking for spots with Arielle (my amazing photographer), we always consider the light/the look/the vibe. For example: if I am wearing white, we shoot in the shade so that the white doesn’t get blown out.
Here is an example of a shoot we did in the sun & here is one we did in the shade!!
3. consider colors
when shooting, I always consider colors. Colors are a big thing for me as I want the photo to tie into my overall brand and aesthetic. If you notice, I have been incorporating a lot of red into my Instagram feed. So I find places that have a touch of red (i.e. the photos in this post). Also, although I hate yellow tones, they are everywhere- don’t let that hold you back!! Removing yellow tones in post production is my jam. Fashionlush Filters are launching like *VERY* soon & all have a huge focus on desaturating yellow tones(wink wink), but I also love to destaurate backgrounds in Photoshop after using my filters in Lightroom.
4. depth of field or nah?
okay, so depth of field, if you don’t know- is that blogger vibe where the background is super blurry. I feel like this needs to be included for two reasons. First of all, DO YOU LIKE DEPTH OF FIELD? Go back to your Pinterest board & see if that’s what you are liking. Personally, I don’t love depth of field (& get so annoyed every time Zack tries to take a portrait mode photo of me).
If you do like it, then this also important because shooting locations should be different when considering depth of field (& also, you need to tell your photographer you like this kinda photo so they bring the right lens!). Okay, so for depth of field shots you need a lot more ROOM to move. The trick with depth of field is you have to be faraway from your backdrop. A sidewalk next to a busy street is not a good idea as you & your photographer would both need to be in the street to get that shot.
5. DROP PINS ALL DAY EVERYDAY
I am the queen of a pin drop if I find a good location to shoot. Trust me- you will NOT remember when it comes time to shoot & it will help save time tremendously. When I was unsure of my location vibe, Arielle & I would waste so much time driving around finding the perfect spot. Sometimes we still do, but now I know what I like. So I am dropping way more pins which makes shoot days much more productive.
6. LOCATION FINDING HACK
lastly, this one is more of a hack then a tip, search on Instagram #yourcitystyleblogger!!! I mean, easiest way to see where other blogger’s are shooting in your city & can definitely help get the wheels turning. Also works great if you’re traveling. It will help you find out the good spots to snap photos in different cities.

WHAT I’M WEARING:
Pretty Little Thing paperbag waist pants | lightening bolt blouse (old school RVCA blouse, *almost identical* version here & here) | aviators (similar!) | Adidas superstar shell toe sneakers

[ PHOTOS BY ARIELLE LEVY ]