Hey hey hey guys. Everyone have a good Memorial Day weekend?
Mine was the best ever, cause my new nephew came into the world which was just about the most amazing thing I have ever experienced!! It’s a good thing this happened on a long weekend cause I needed that extra day to nap & come back to earth. Little guy made us wait through a few sleepless nights (& also, my sister is like the most amazing/strong person ever!) but he is home now & just the most dreamy dude ever… with SO much hair!!!
I feel like you guys are all my best friends, so I am so excited for you all to see him when he is ready for his big debut!!
In the meantime, I am sharing some of my top tips for taking better outfit photos, cause really… the whole thing is a science. Read on & shop this look below (ft. my absolute favorite jeans ever).

my top tips for taking better outfit photos
1. Location: I am a freak about location. You can’t just shoot anywhere & expect it to come out great. You have to determine the aesthetic you are going for before you start taking photos. I like my Instagram feed to have depth, be a little moody/dark, & of course- I am not a big fan of color. SO, I try to shoot in places that fit all of those requirements.
It takes a lot of driving around, but I suggest when driving around & finding spots you love- mark them on your maps or jot down the address… so next time you shoot, you have some places to pick from & save time. If you guys look at my outfit posts, you will recognize a few of the locations are used a few times. I keep my fave spots in rotation.
2. Timing: A location won’t be anything if the light isn’t good, so that is where timing comes into play. I like shooting in the shade, but while it’s still sunny out. If it’s a grey day it’s not the best for shooting cause photos can come out a bit drab, but shooting directly in the sun is a bit aggressive… so it’s all about finding that fine medium.
If you live in a town with tall buildings, a downtown area, that is great cause you can find a lot of shade but if not… golden hour is your best bet! I know people love golden hour for the golden hues, but since I have a cooler feed… I am not using it for that kinda lighting, but more for just finding shade while still having a good light on my face (cause you always shoot with the sun on you, not behind!).
3. Posing: ahh POSING. This is always the hardest for me cause, well, it can be awkward taking 500 photos of yourself & not get a bit tired of moving around but you gotta MIX THINGS UP. Stand up, walk around, sit down, lean against a wall, just keep moving so you can get plenty of variety.
I suggest doing some research on poses & using Instagram’s new save feature to create a folder of poses (is anyone else OBSESSED w/ the fact you can save photos on the gram?! GENIUS) so that when in doubt, you can check out some of those poses & recreate the ones you like.
Also, some basic tricks- don’t keep your arms too close to your body or they will just look bigger than they are & also try to keep your legs spaced apart. I know these sound kind of superficial, but they work to make you look leaner… which is crucial cause a camera really does add 10 lbs.
Why does the camera actually does add 10lbs? Well… it’s because all lenses (even on your iPhone) are a tad bit dome shaped so it distorts the image a bit. In editing they do have lens correction in Lightroom where you can literally flatten out the image to reflect how you ACTUALLY look. This article does a stellar job at explaining what it is & how to fix it!
4. Oil it up: this is a new trick I am now obsessed with & now I never go to a shoot without my favorite golden glowing oil. Rub it on your legs, arms, and collarbone. It adds dimension to your photos & makes your skin look extra glowy and fabulous.
5. Always be Tan: & on that note, get a tan! Being tan does WONDERS for photography. I am currently loving this tanning lotion & also am a huge fan of Sally Hansen’s leg makeup. I keep the Sally Hansen spray in my little blogger bag… just in case my legs are looking a bit pasty before a shoot!
6. Post Production: at the end of the day, it’s all about the edit. No matter how perfect the backdrop & lighting are, you still need to do your editing to fix any colors, tone down any warm hues (atleast for me, I make it very cool!), & even Photoshop out any distractions (i.e. a cigarette butt on the ground or a nasty orange street cone). I suggest shooting raw (your photographer should already be doing this) & first doing your color corrections in Lightroom & then moving the photo to Photoshop for any of your last minute corrections (i.e. removing the cigarette butts!).


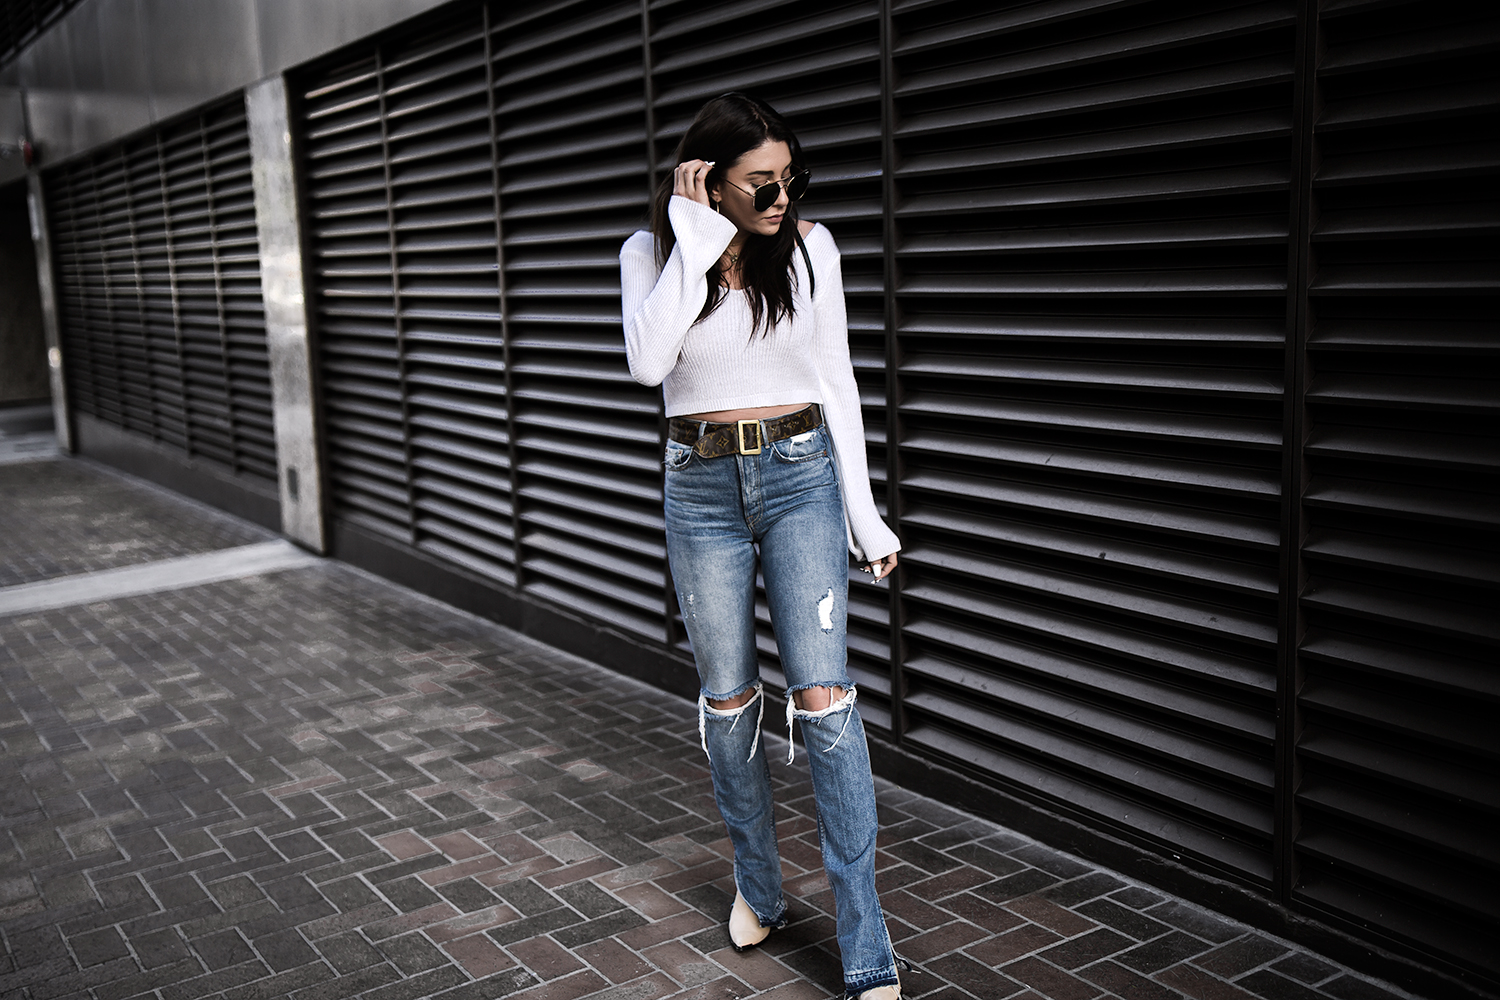
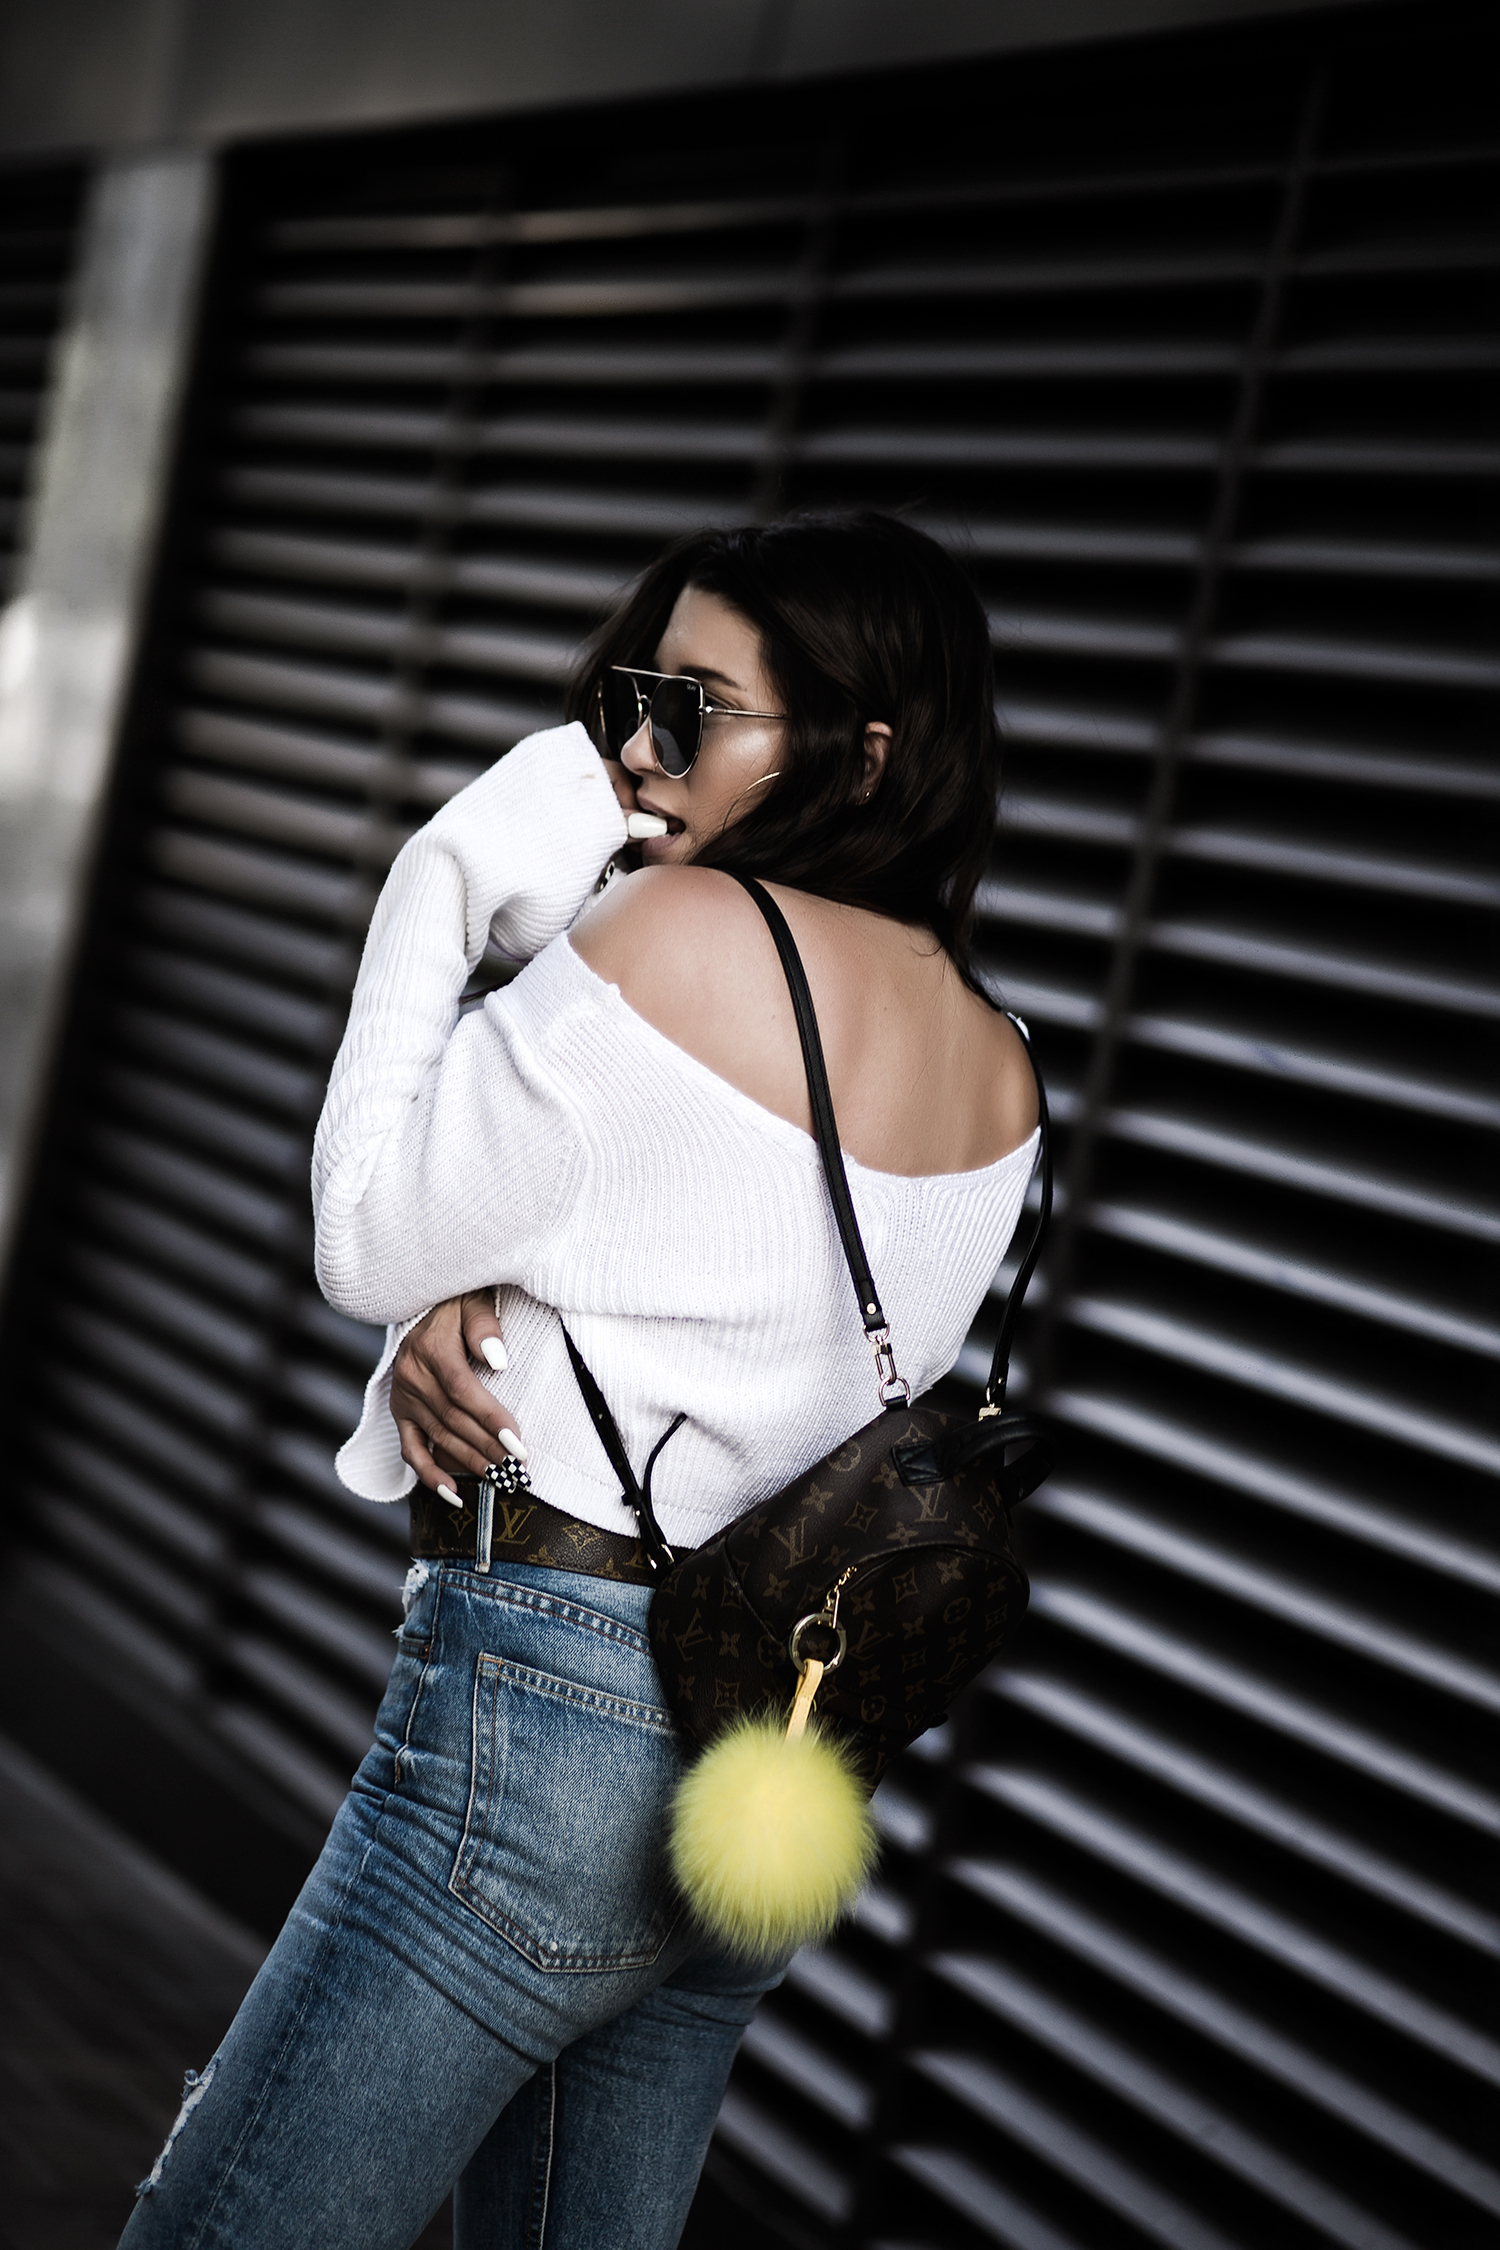
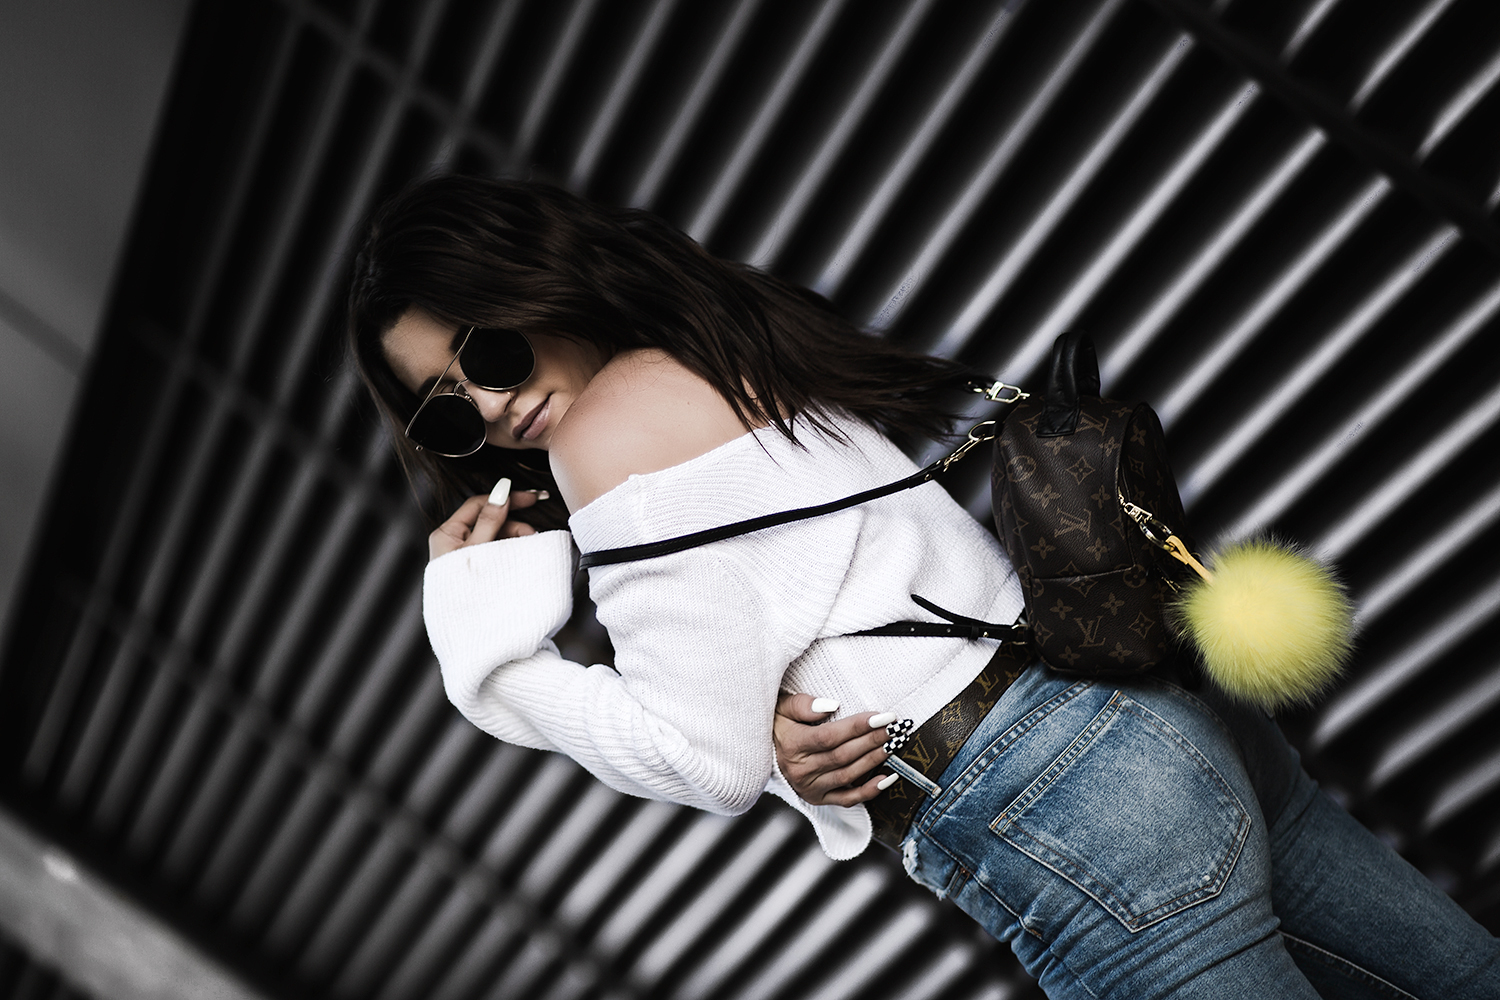
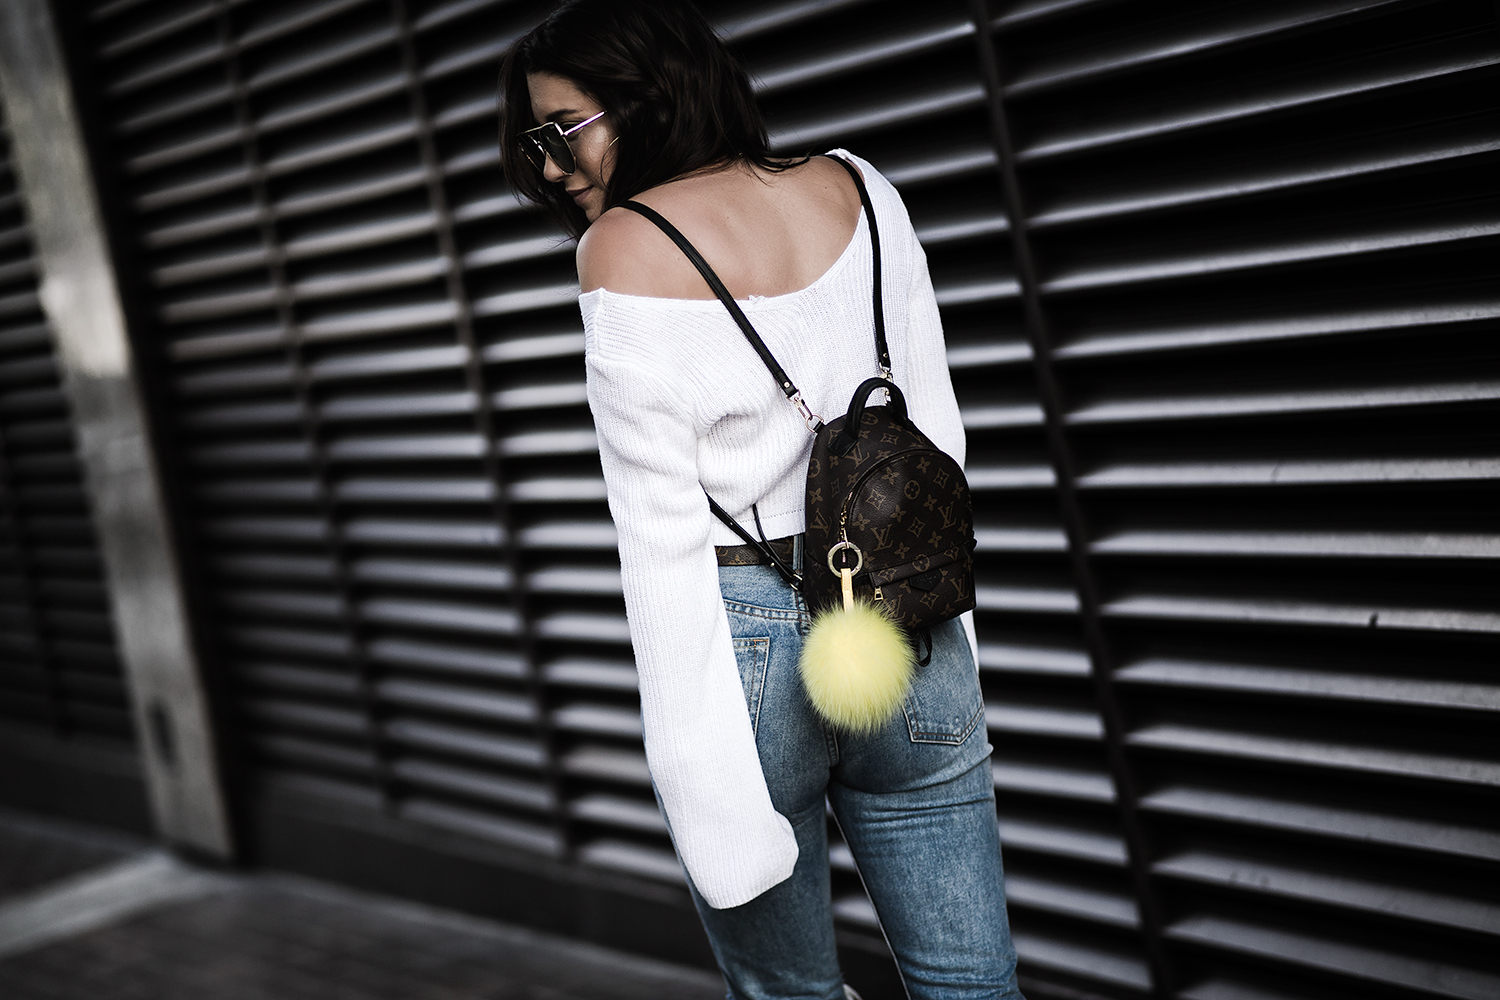
wearing: GRLFRND ‘Natalia’ jeans | cropped white sweater (sold out- similar here & here) | Acne Jensen boots (sold out- similar) | LV mini backpack | LV belt (vintage score from Etsy- similar style here) | yellow purse pouf | Quay Santa Fe sunnies
[ PHOTOS BY ARIELLE LEVY ]

Want to give you a hug through my screen because this is awesome, thank you!!!
Aww- love this!! *hugs*